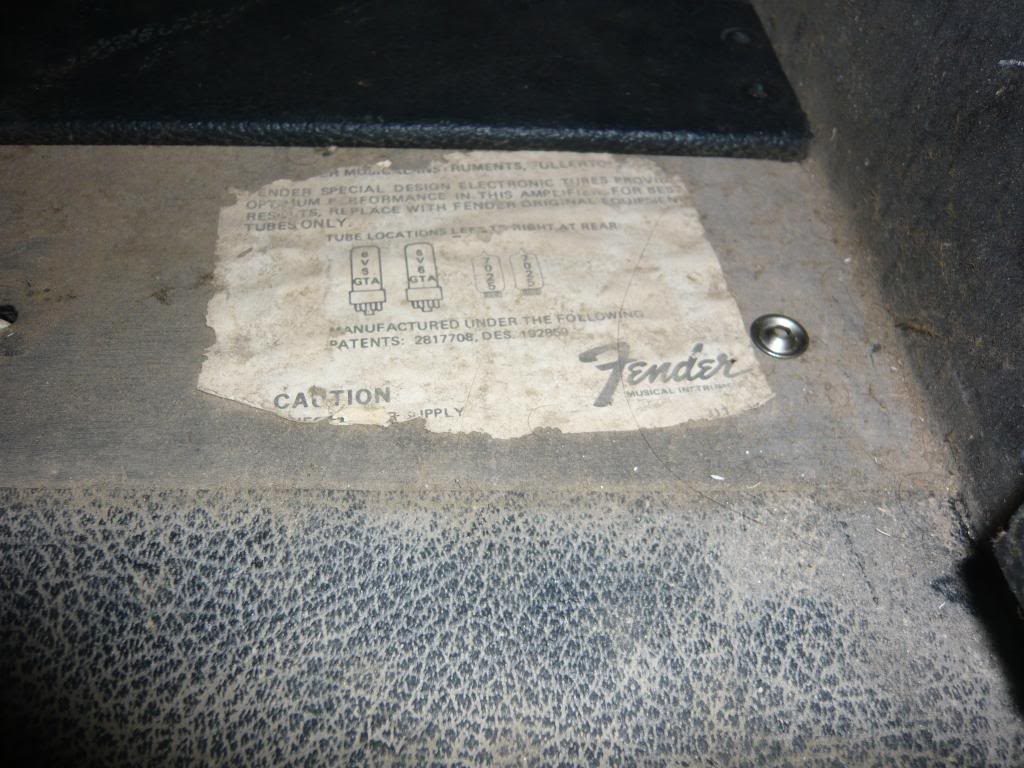
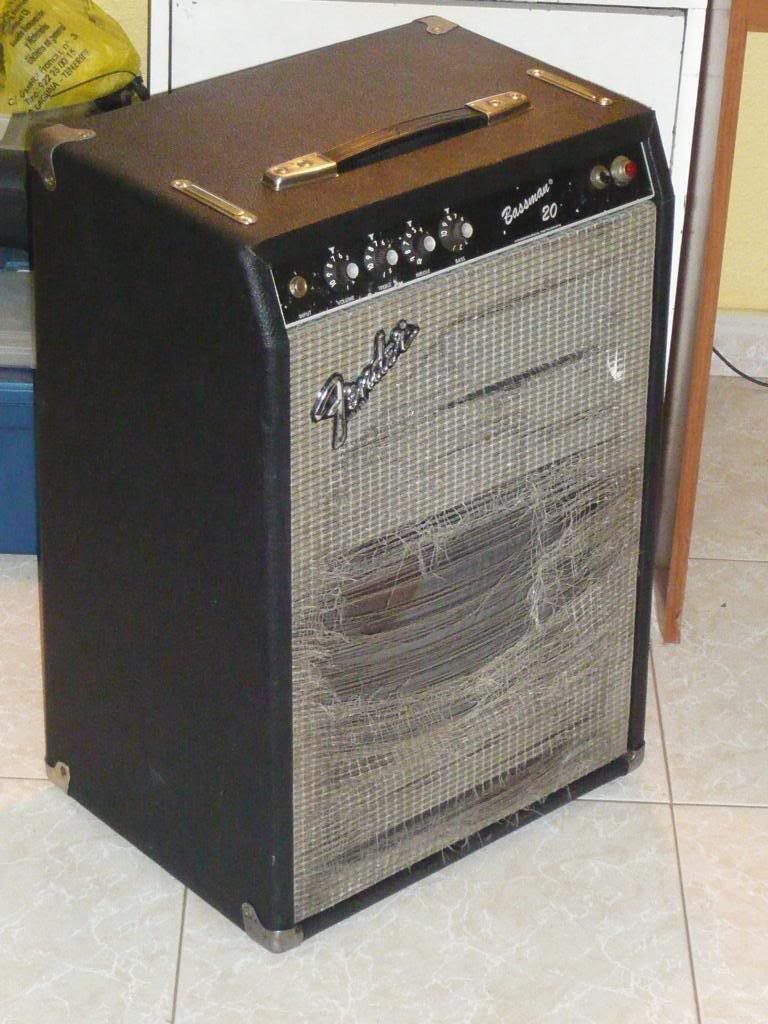
In 2011 it was given to us an amplifier which we had not heard about, it was a Fender Bassman 20. This model belongs to a line of equipment that Fender asked to design to Paul Rivera (from ‘Rivera’ amplifiers) in the early 80’s. These equipments were built in Fullerton, California, USA from the year 1982 to the 1986 approximately. They were made entirely by hand using ‘eyelet’ boards. This series has a wide range of equipment ranging from several typical Fender amplifiers but redesigned to PA equipment.
This Fender Bassman 20 amplifier had been abandoned and unused for many years because at some point it suffered a breakdown, stopped working and was left in the warehouse waiting to be taken to repair.
Unfortunately the time passed and the equipment suffered the pass of time. The owner of the bar brought the amplifier to assess its repair and restoration.
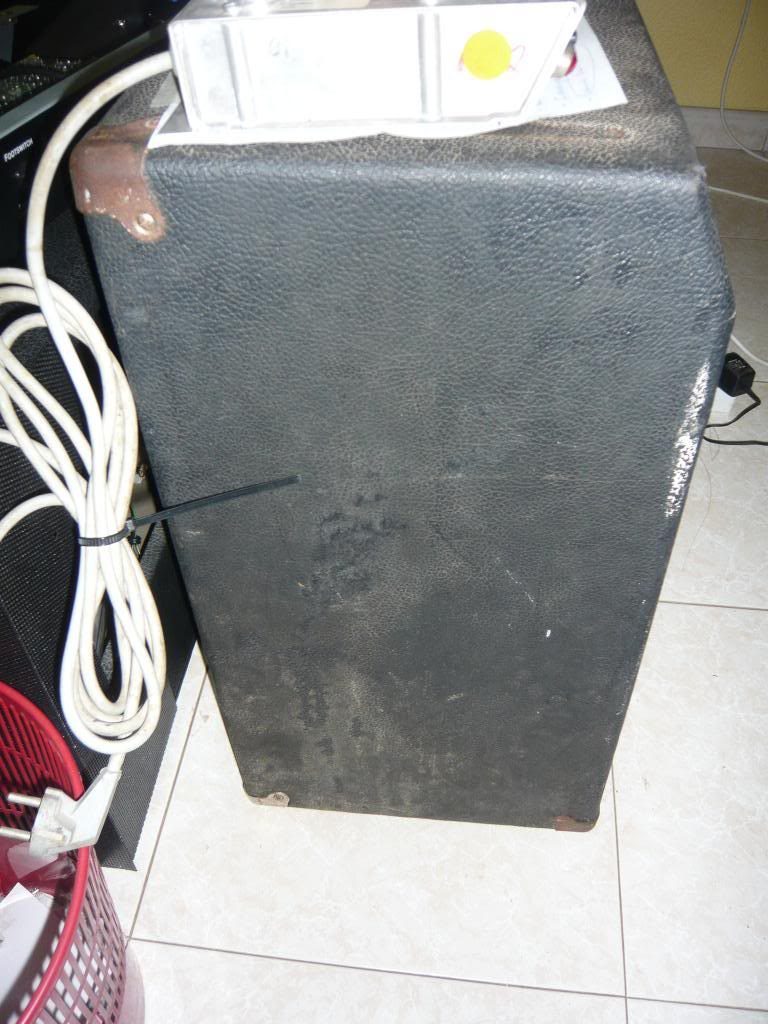
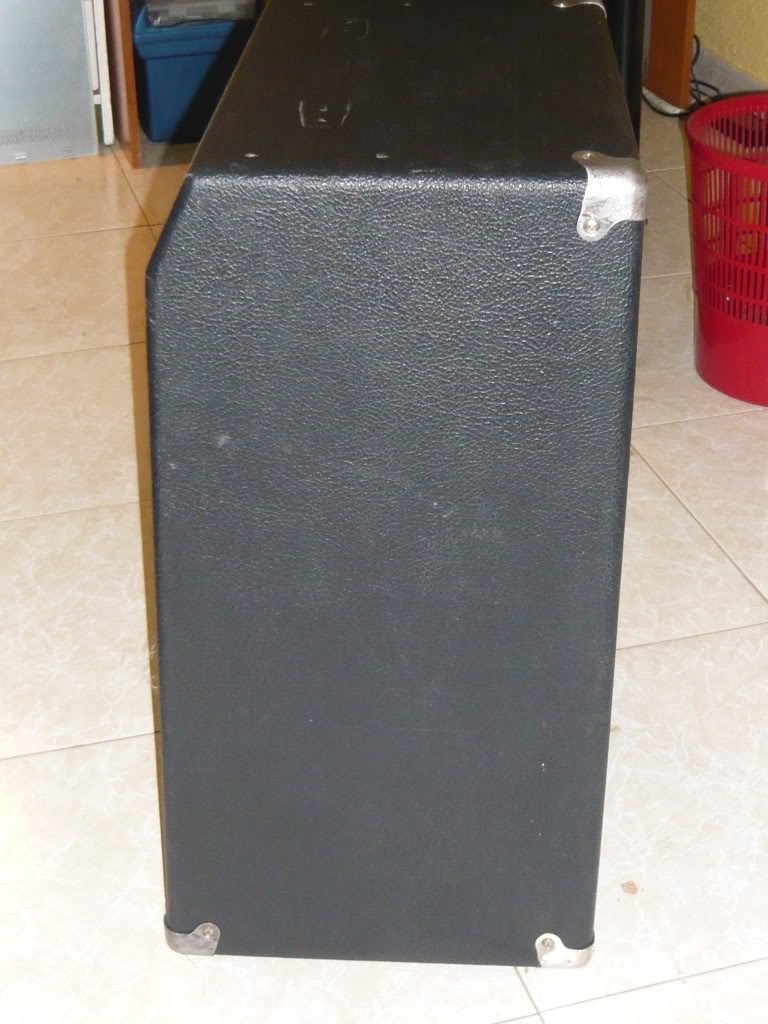
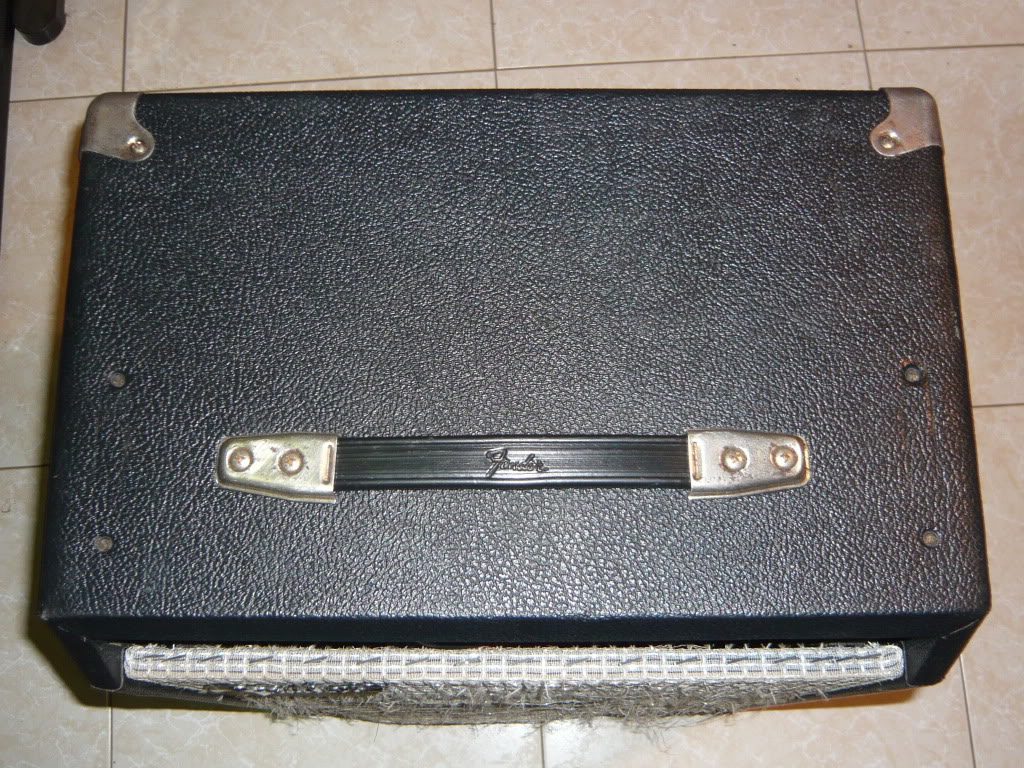
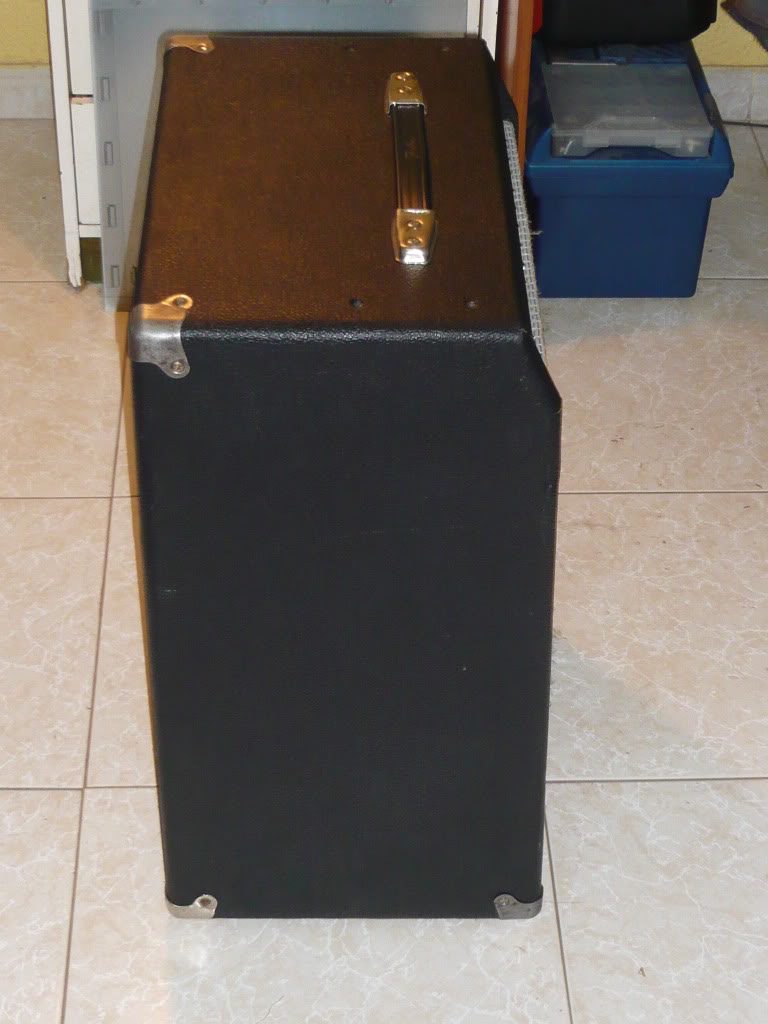
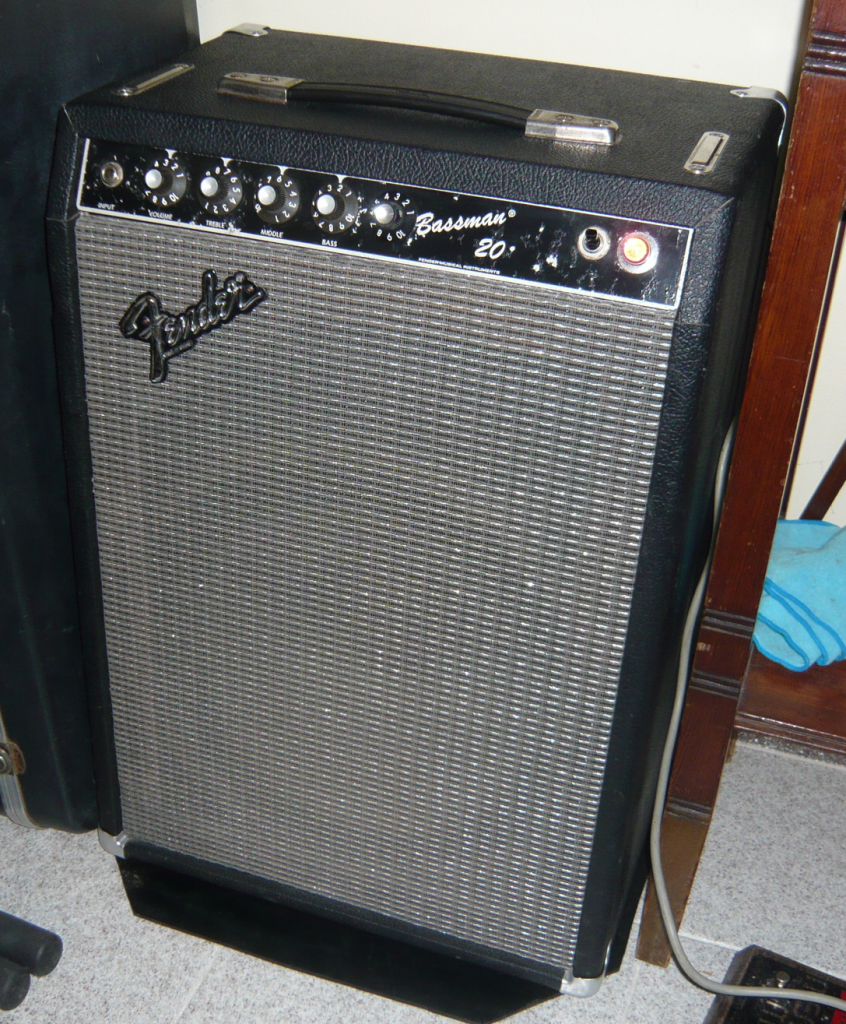
From images 1 to 8 it can be seen the state in which the equipment arrived to us.
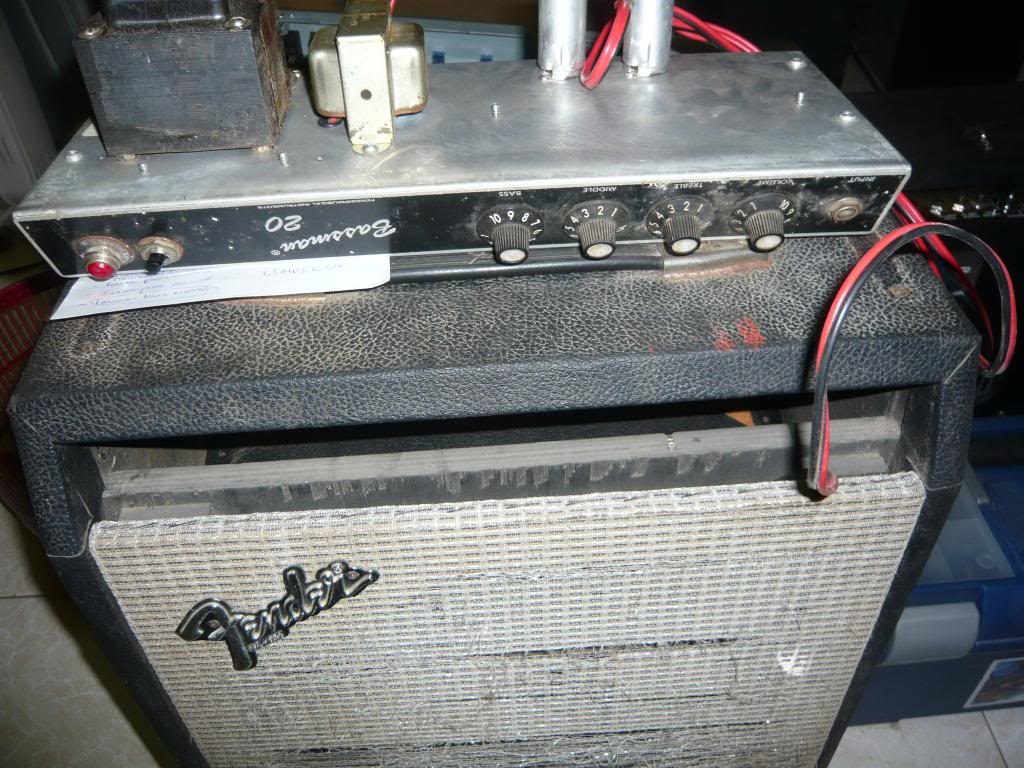

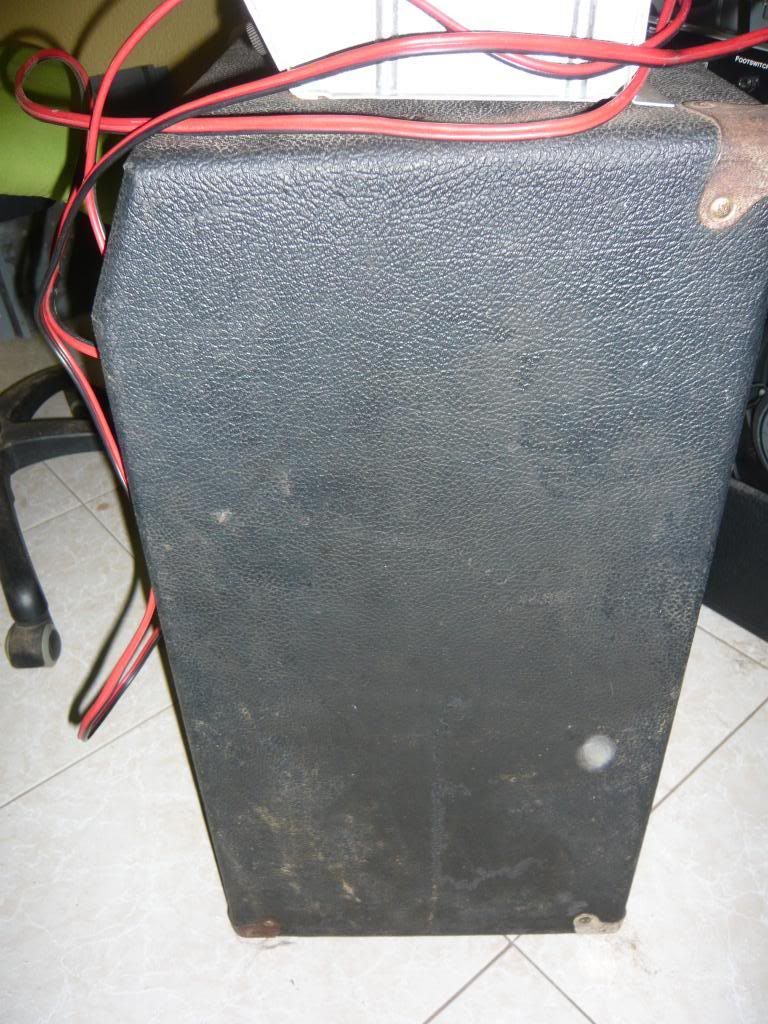
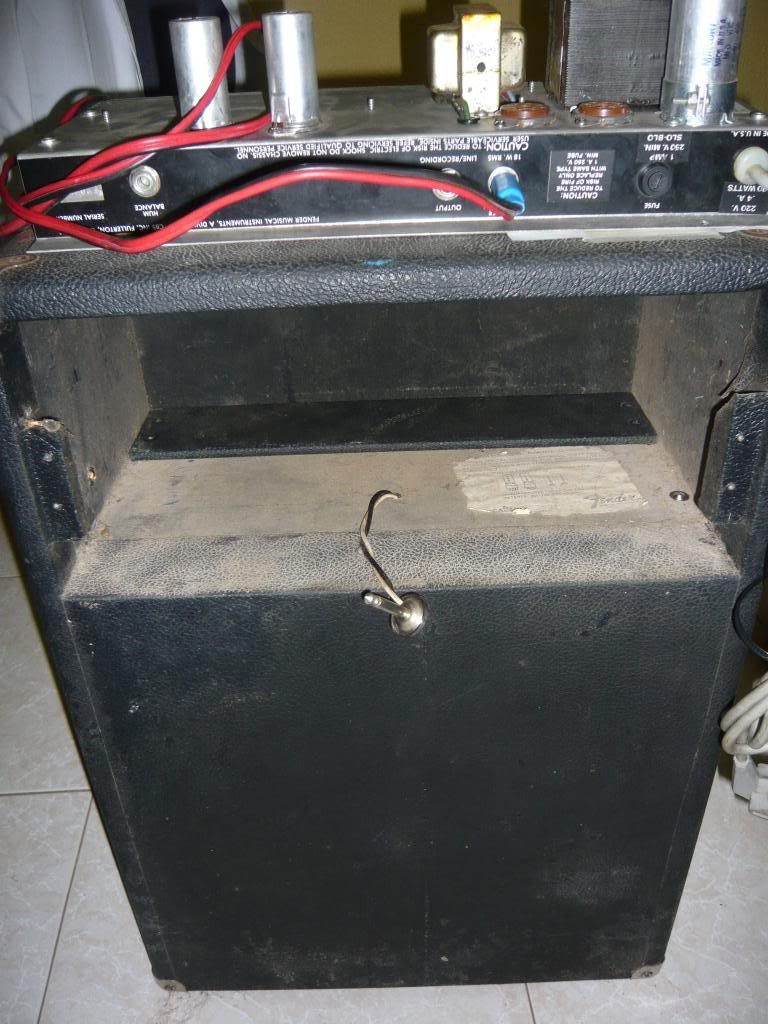

As can be seen the equipment needed a complete overview and overhaul both esthetic and electric.
In the esthetic part it needed an extensive and deep cleaning, remove oxide from corners and repaint them, buy new chassis straps and installation of a new grill cloth.
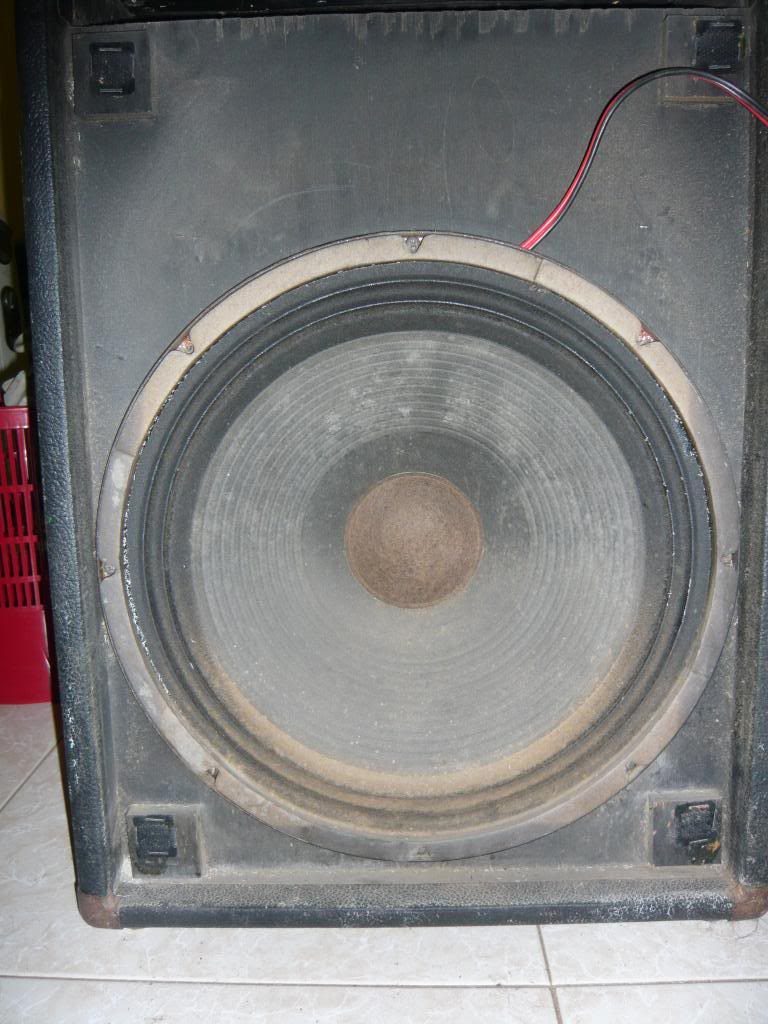
The speaker had mold in the diaphragm and suspension, because of this it was thought to be replaced, but it was tested and it operated ok, not giving any problem by what was left in the equipment, it was use a brush to remove most of dust and dirt from it.
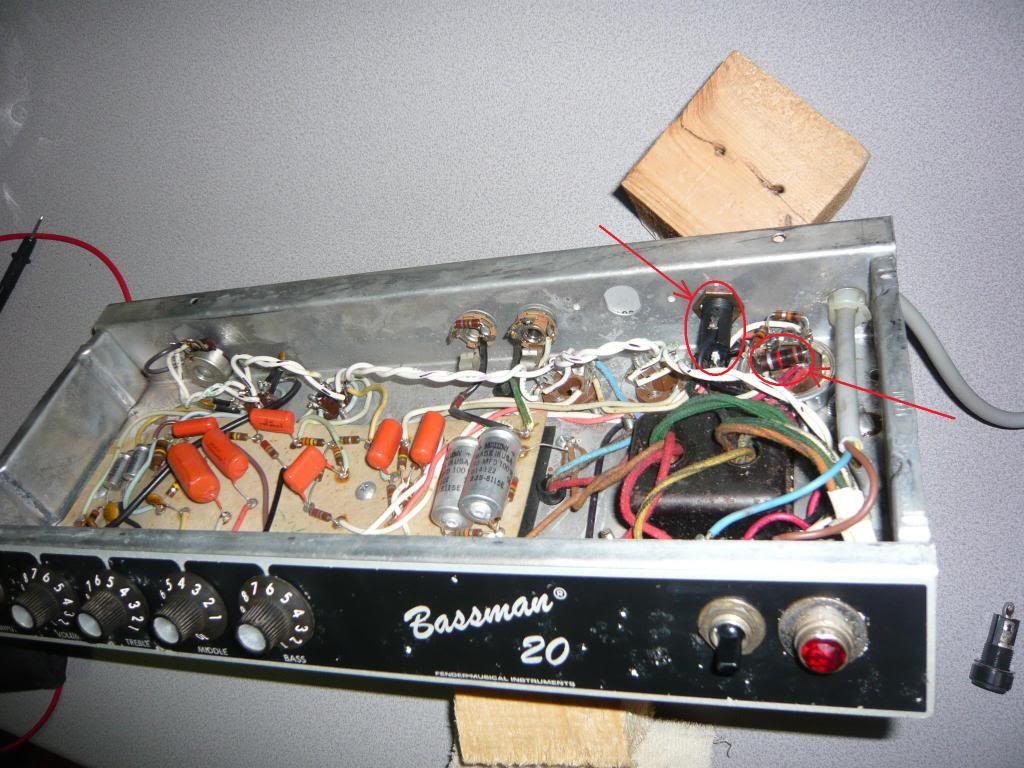
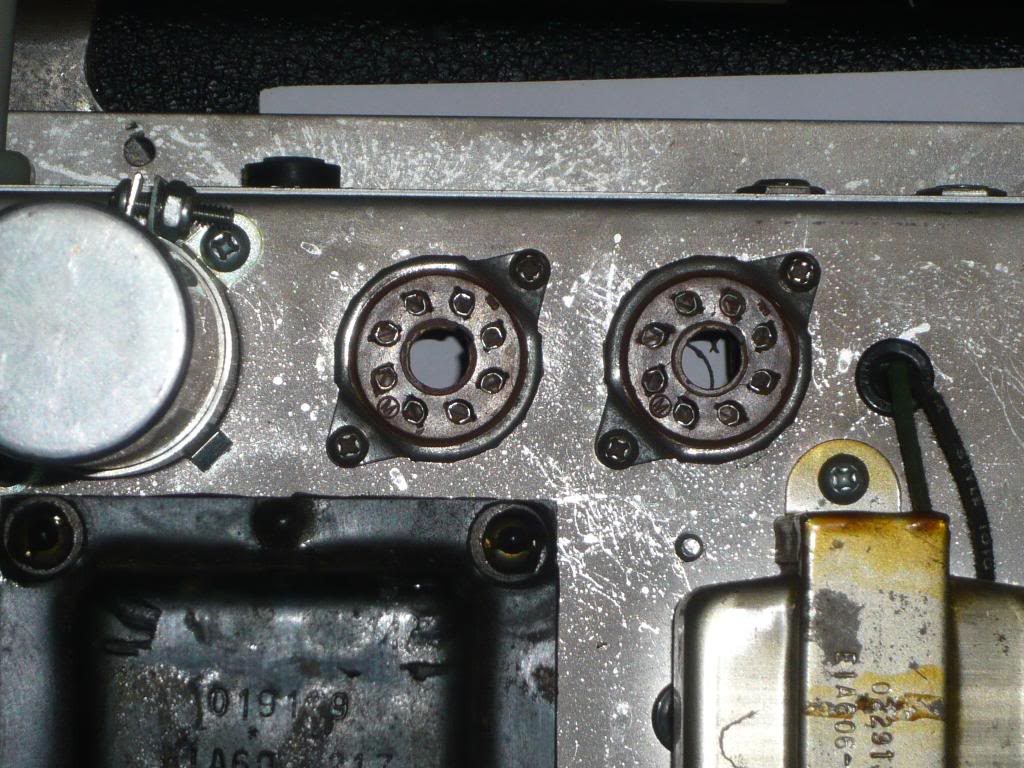
In the electrical section, on one hand was the fault itself, as you can see in the pictures 9 and 10 is related to the burning of the resistance of 1KOhm which forms part of the rectifier stage power filter. On the other hand the cover of the fuse holder was lost.

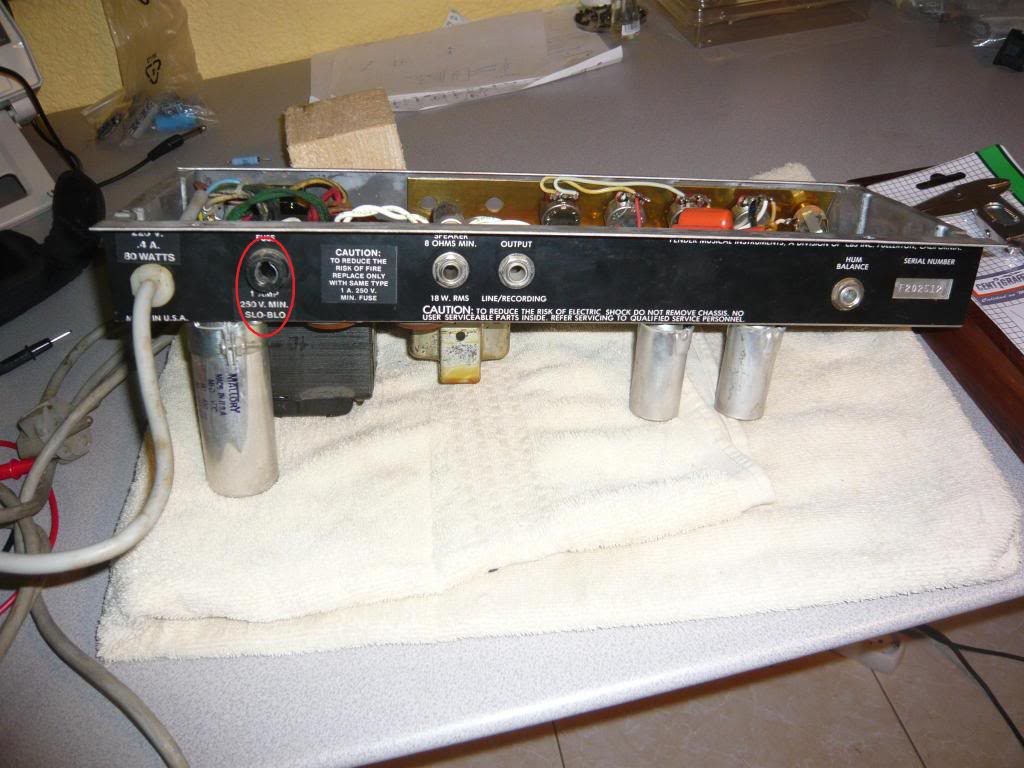
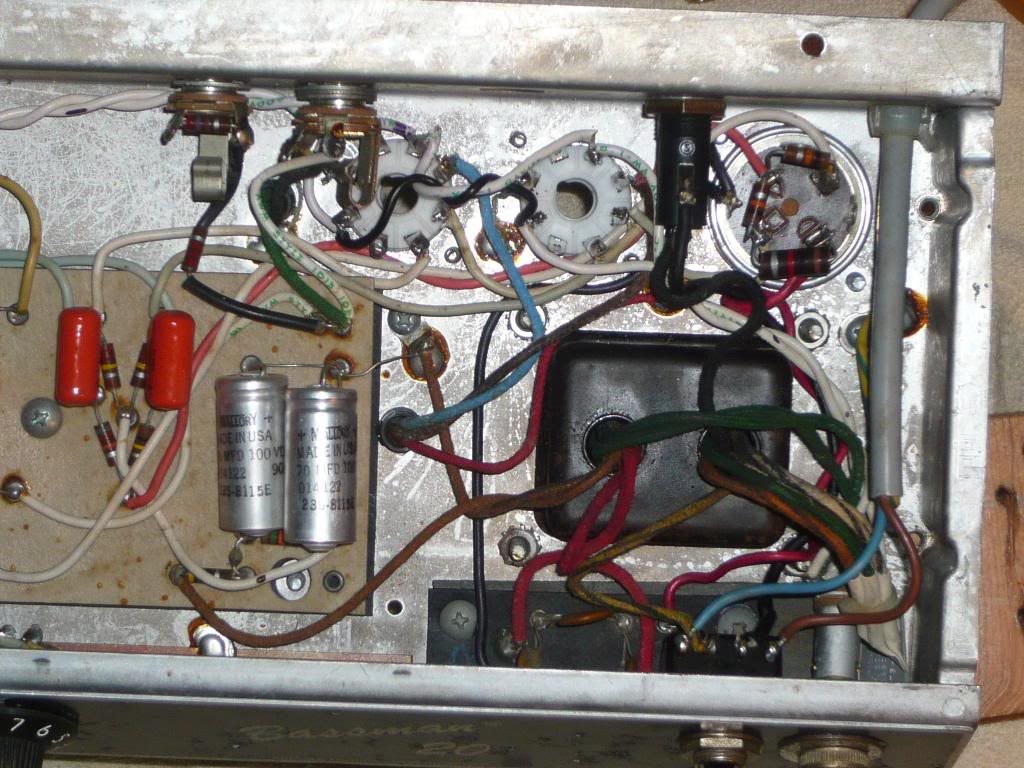
Apart from this, as it was an equipment with about 30 years old, on one hand it required replacing of all the electrolytic capacitors (metal cylinders in picture 11), on the other hand the replacement of all the valves, because the one that came with it appeared to be the factory set. Also it was decided to change the power valve sockets to ceramics since it seemed that the area had suffered enough and they could have some relation with the presented breakdown.

Once evaluated the equipment and the restoration cost we got to work.
The first step was to verify that the transformers, both, power and output were ok. For this purpose it was replaced the burned resistance and the fuse holder (image 12), afterwards it was proceeded to connect the equipment to a current limiter and turn it on without valves. Once checked the voltages and transformers, preamp valves were placed and it was verified that the amp was working as you can see in picture 13.

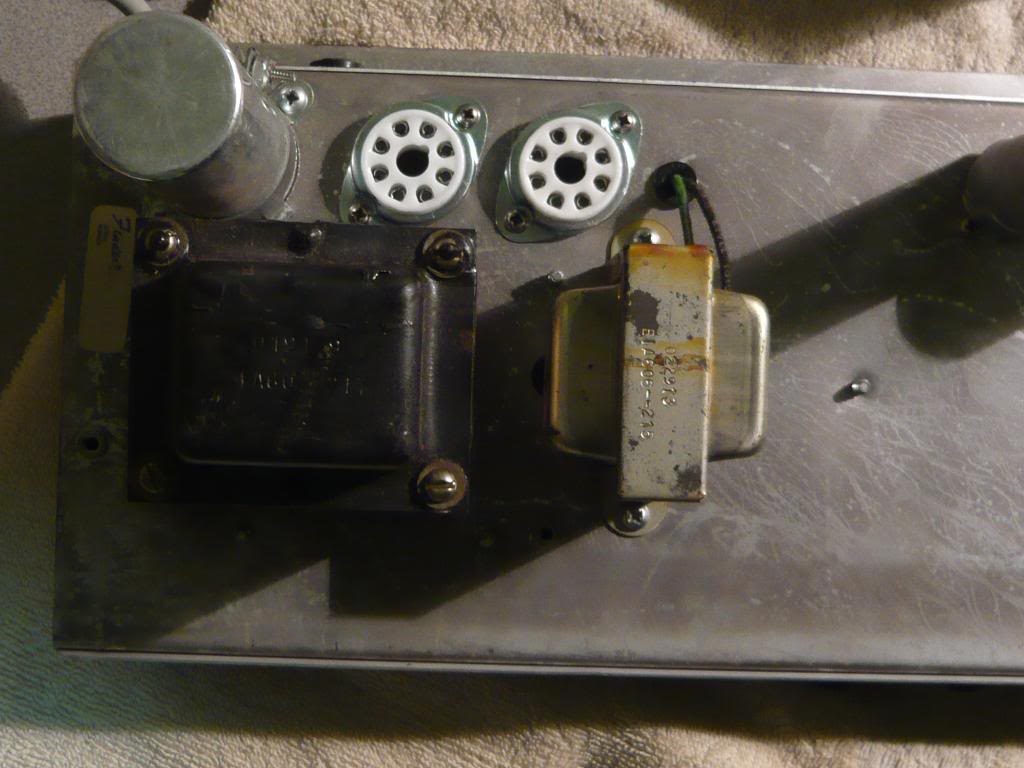
Once seen that it worked, it was proceed to replace the power valves sockets (image 14), clean the ON/OFF switch and the cleaning of all the potentiometers.
By this, repairing the electric fault was quite simple; replacement of the burnt resistance and replacement of fuse holder. The next step in the restoration was what should be the standard procedure to an amplifier of this age; electrolytic capacitors replacement, replacement of valves/tubes, cleaning of potentiometers, checking voltages on the plate and Bias of the valves, verification of resistances, etc. And for last but not least important treatment, be used.
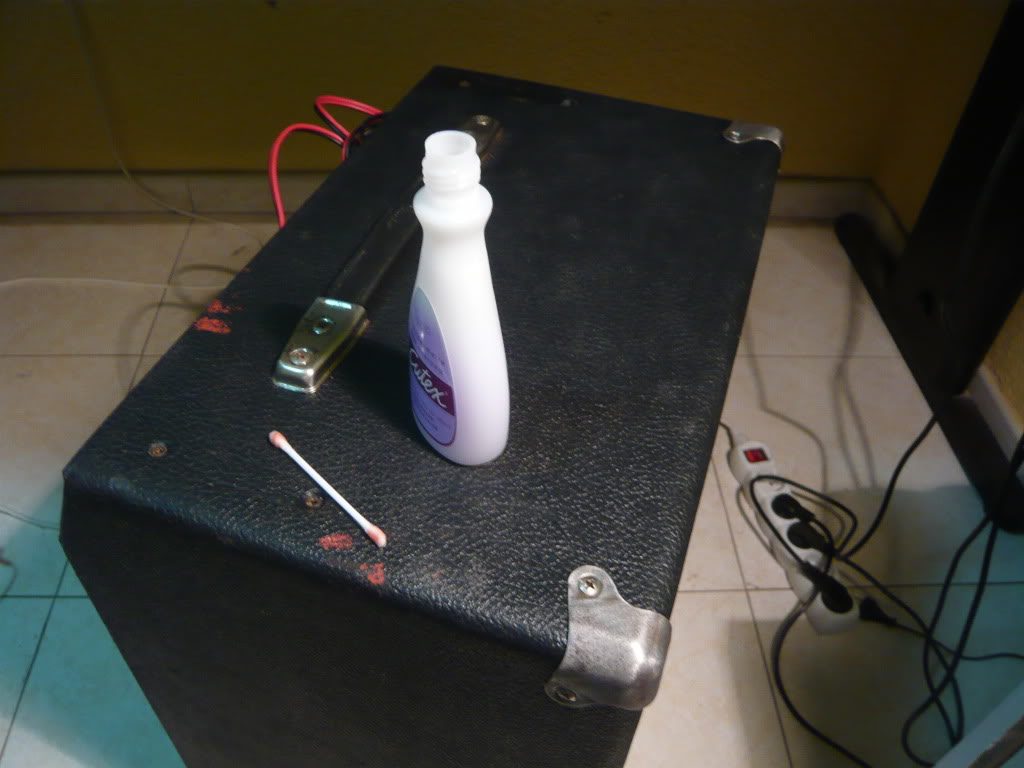
For the esthetic part, it was used Q-tips and nail polish removal to remove the paint drops. To remove dirt from vinyl it was proceeded to clean it with warm water with soap several times, then it was Polished. To remove the oxide of the corners it was used sandpaper of various degrees to eliminate it completely. The procedure and results can be seen in the following images.


Finally you can see the result of the first steps to the complete restoration of the amplifier in the absence of the grill cloth replacement.
Once replaced all the electrolytic capacitors, grill cloth, and as the nickel plating was lost the corners were painted to prevent oxide to return, then a ‘Master Volume’ mod was done. Finally it can be seen the final result of the work in the image below.
The front blackface plate was left to keep some of its originality and to reflect some of its age.
Thank you for reading this post, I hope it helped to show some of the work carried out in our workshop and which has enabled to see the rejuvenation process of this rare amp.
We will continue publishing posts which we considered most relevant to share.
May the music continue.
Leave a Reply